Mince
Research
What is mince?
Mince is commonly confused with mincemeat which is not even meat. Mince can be better known by "ground beef" or just "ground meat" in general. Ground beef is basically beef that has been grounded or finely chopped. The process of grinding can help make bits of the beef that are normally tough to a softer version and make fatty parts leaner to reduce the dryness and improve the flavour.


Ground beef is made from cattle and must be made from cattle. If it is made from any other animal it is considered illegal. The part of the cattle that is used has to be the skeletal muscles. No organs, eyes, skin, guts or anything but only muscle that used to be attached to the bone.
How is mince made?
Mince is made starting from selecting the meat. Although muscle has to be used, the cuts selected for the mince may vary from one processor to the next. Some people may combine parts from different cows while other may just use one animal.

In Cargill Ground Beef, this is what happens:
1. Process starts in a temperature controlled cargo plant where all equipment is cleaned each night
2. Large cuts of beef are hand cut and trimmed into steaks, roasts etc.
3. Beef is then hand sorted based on lean: fat ratio, source and breed4. Throughout this process, everything is kept at below 40F or 4C to ensure product safety
5. All products are then tested for bacteria and are only made of ground beef after the lab results come out
6. Trims are visually and electronically inspected again before the first stage of grinding starts
7. In the first stage of grinding, the ground beef is grinded with cuts that have different ratios so that the ideal ratio can be reached
8. Ratio is double checked before it enters the final grinding stage
9. They are finally packaged in different packages based on where it will be sent to and food labels with use by date and a traceability.
10 dishes that uses mince:
Chilli con carne
Spaghetti bolognese

Cottage pie

Biryani

Lasagna

Meatballs

Moussaka

Mince lamb tagine

Beef tacos

Beef lettuce wraps

etc.
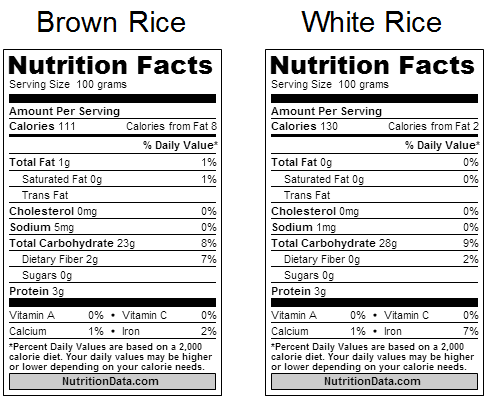
Nutrients found in mince:
The nutrients found depend on the lean: fat ratio but if the meat was 90% lean: 10% fat then the nutrients would be high in protein, vitamin B12 and zinc but high in fat as well.


How do you cook mince?


How do you cook mince?
Ground meat can be easily cooked with some onion, vegetables like green peppers, carrots etc. and spices. Ground meat is a very diverse type of food because it can be eaten in many ways: as patties, sauces, chillis, fillings etc. To check whether or not your meat is done, pay attention the colour which should be brown and no red colours and whether or not red juices are coming out when you press on the meat.
 How to store and buy mince?
Mince can be bought from supermarkets, markets etc. There are many varieties of ground meat but in order to choose the best one, you have to make sure the meat has a very bright colour and that there isn't too much white stuff- fat. However, the colour might not be the best indicator sometimes so it would be smart to pay attention to the packaging date instead. Ground meat can be stored in the refrigerator for up to two days or basically how long until the best before date which is usually printed on the label.
References:
http://www.thekitchn.com/where-does-ground-beef-come-from-meat-basics-217840
https://www.youtube.com/watch?v=xYyqaYfMGHg
https://authoritynutrition.com/foods/beef/
http://momatthemeatcounter.blogspot.hk/2014/07/ten-things-you-didnt-know-about-ground_1.html
https://www.reference.com/food/part-cow-ground-beef-come-d6ab2323cdd155ef
Planning
I have decided to make chilli con carne for my mince dish. The recipe is pretty simple and I will be following the demo shown in class. I have decided to do this because I really like this dish and I thought it would be really complicated to make but it actually is not very hard so I would like to try it.
I will need to bring in 100g of mince, a yellow pepper, 1 cup of cooked rice, half a can of kidney beans and a container. Everything else in the recipe will be provided at school.
Evaluation
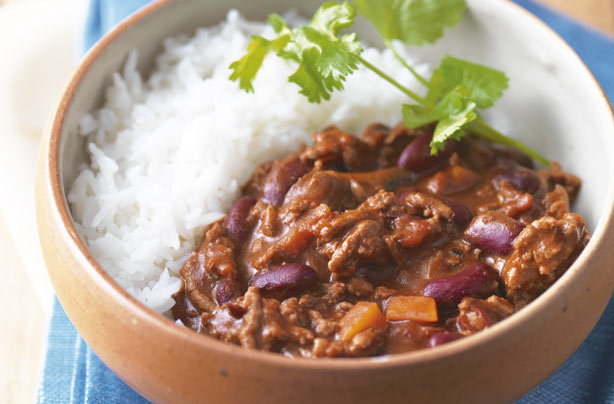
The appearance of my dish was a dark red colour which was the chilli con carne. Underneath the sauce, there was rice. I found the taste of my dish spicy which is good because it is supposed to spicy (Chilli con carne) but there was also a mild taste of the tomato sauce which isn't good because the tomato sauce is sour and not spicy. However, my parents said that it was too spicy while my friend said it wasn't spicy enough. To improve, I should put in more meat next time because as I ate my dish, I couldn't really taste the meat specifically. The aroma was that it smelt a bit spicy and there was a smell of tomato sauce as well.

https://www.youtube.com/watch?v=xYyqaYfMGHg
https://authoritynutrition.com/foods/beef/
http://momatthemeatcounter.blogspot.hk/2014/07/ten-things-you-didnt-know-about-ground_1.html
https://www.reference.com/food/part-cow-ground-beef-come-d6ab2323cdd155ef
Planning
I have decided to make chilli con carne for my mince dish. The recipe is pretty simple and I will be following the demo shown in class. I have decided to do this because I really like this dish and I thought it would be really complicated to make but it actually is not very hard so I would like to try it.
I will need to bring in 100g of mince, a yellow pepper, 1 cup of cooked rice, half a can of kidney beans and a container. Everything else in the recipe will be provided at school.
Evaluation
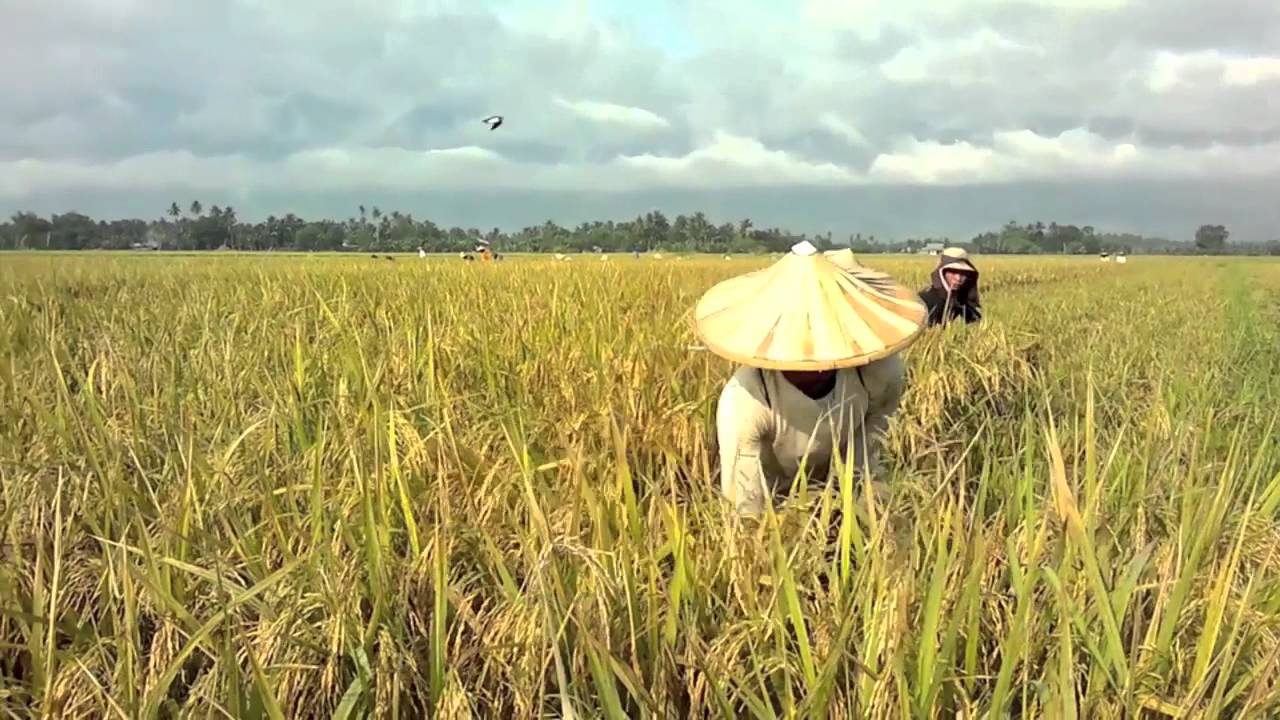
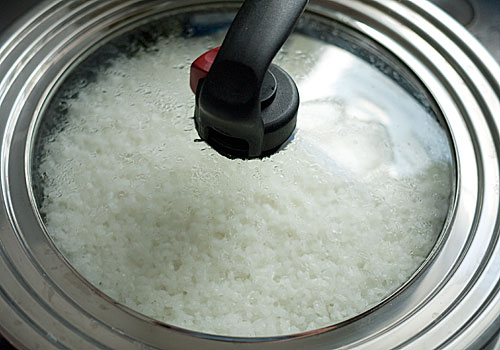
Today in Food Technology, I made a chilli con carne with minced meat, yellow pepper, chilli powder, onions, garlic and kidney beans. Then I served it with a portion of rice.
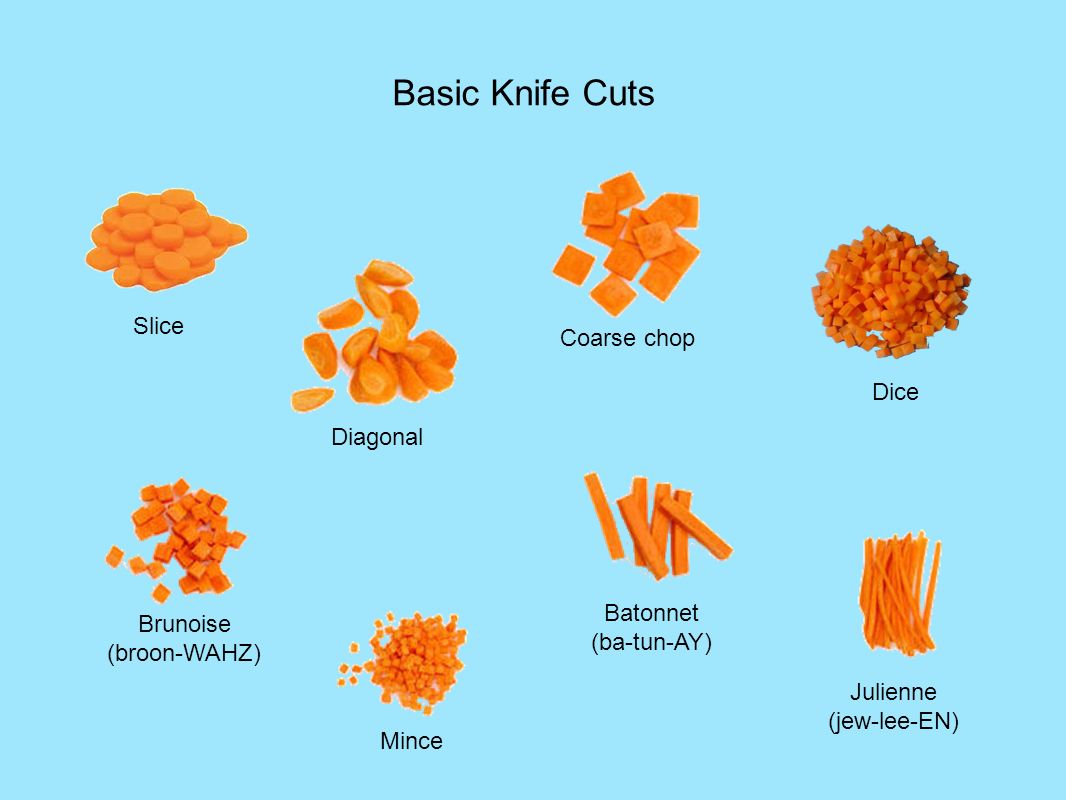
This involved using different skills; cutting vegetables, cooking meat and cooking rice. I think that I worked in a safe and hygienic manner because I washed my hands before making my food. I wore an apron, tied up my hair, removed my watch to prevent dirt and germs getting into my food. In addition, I used the correct chopping board when cutting up my onions, garlic and pepper and remembered to put a wet cloth underneath. I remembered to put the handle of my pan in the right way also!
I was organized today because I worked in order of the recipe. My workspace was neat and I washed up in a quick and orderly fashion whilst I waited for my dish to be done.

Nutrition Program


The cost of my dish is £1.73 which is approximate $17 HKD. The selling price is £4.33 which is around $42 HKD. I think both of these prices are pretty reasonable.

This is the nutrition in my dish. As you can see, I got a green traffic light, meaning that it is a healthy choice and can be eaten frequently. However, if I click "Show 8", I can see that I got an amber traffic light for the amount of salt. This can be turned to a green if I added less salt but, some of my other ingredients naturally have salt in it so this is not easy to reduce.